Skip to content
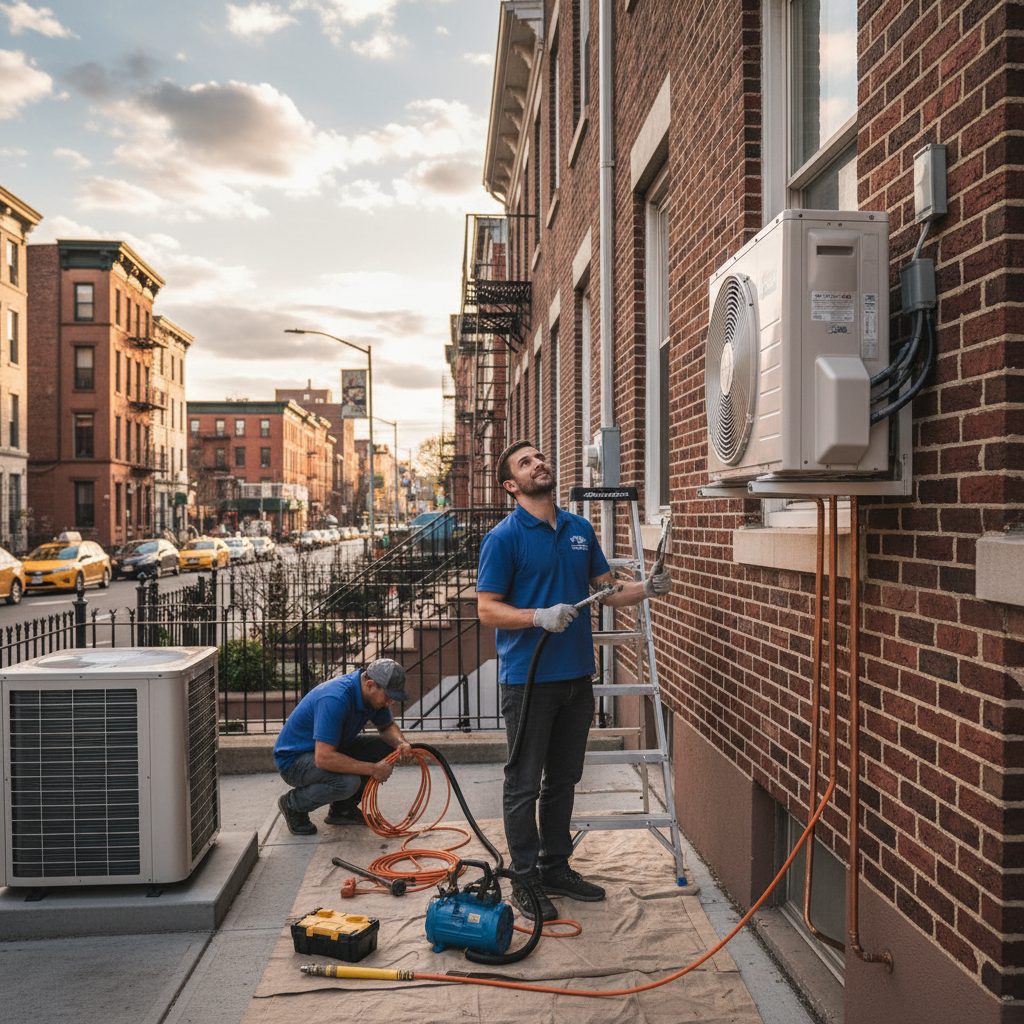
Practical preparation for a mini split installation yonkers job
Measure each conditioned room, note ceiling heights, sketch where wall heads and the outdoor condenser will sit, identify the nearest 240V or 120V breaker and clear a 4 to 6 foot work area outside. Have a 24 inch clearance vertically available above the indoor unit and confirm access for a 3 inch core drill through the exterior wall. Mark the planned line set route so the crew can stage piping and electrical before cutting.
How professional teams approach a residential replacement
Experienced installers follow a tight sequence: confirm load calculations, mount indoor brackets, run the line set and electrical, install the outdoor pad or brackets, vacuum and charge the refrigerant circuit, then perform controls and airflow verification. Each step has measurable checks: temperature split tests, amp draws on the compressor, and proper vacuum level before opening the service valves.
Room sizing and load basics
Choose capacity by room square footage and heat gain/loss factors. Typical ranges: 6,000 to 9,000 BTU for small bedrooms up to 300 square feet, 12,000 to 18,000 BTU for living areas to 1000 square feet when open plan. Account for high ceilings, large south-facing windows, or poor insulation and upsize one tier when those conditions apply. If multiple indoor units serve different zones, calculate each zone independently rather than relying on a single oversized head.
Electrical requirements and safety checklist
- Confirm circuit type and breaker size at the load center before purchasing a unit.
- Installers typically need dedicated circuits; prepare conduit or accessible cable pathways.
- Note disconnect location requirements for the outdoor unit and plan for bonding and grounding.
- Label the breaker and provide a clear access path for future service.
Mounting and structural considerations
Wall-mounted heads need a solid anchor point. If mounting on brick, concrete, or hollow block, specify masonry anchors or backing plates. For studs, place the bracket into at least two studs or use a reinforced backing board. If a recessed chase or soffit is considered, ensure drainage for the condensate line and maintain service clearance around the unit.
Line set length, refrigerant, and routing
Keep the line set as straight and short as possible. Each manufacturer lists a maximum line length and elevation difference. For retrofits, avoid unnecessary loops and place the outdoor unit within the recommended distance to reduce efficiency loss. Route lines inside chaseways or protective conduit where exposed to potential damage.
Vacuuming, charging, and leak checks
After brazing the refrigerant joints, a proper vacuum to at least 500 microns is standard. Hold the vacuum to confirm system tightness, record the final vacuum reading, and then charge per manufacturer specifications. Perform an electronic leak check and soap-bubble inspection at all service ports and brazed joints.
Controls, thermostat setup, and commissioning
Set the wired or wireless controller for the correct mode and fan curve. Run a commissioning checklist: verify communication between indoor and outdoor units, confirm setpoint response, and measure supply and return temperatures. Log readings for future reference and take photos of the electrical panel labeling and installed valves.
Common problems and how to avoid them
- Poor airflow: verify filter placement and clear obstructions on indoor head returns.
- High amp draw: recheck voltage balance and ensure correct wire gauge and breaker sizing.
- Excess condensate: slope condensate lines downward, add a trap when required, and insulate the line to prevent freezing in cold weather.
- Communication errors between indoor and outdoor units: confirm correct dip switch or address settings on multi-zone systems.
Typical time breakdown for a focused replacement
| Task | Estimate |
|---|---|
| Site prep and measure | 30 to 45 minutes |
| Mount indoor bracket and drill | 30 to 60 minutes |
| Run line set and electrical | 60 to 120 minutes |
| Install outdoor unit and mount | 45 to 90 minutes |
| Brazing, vacuum, charging | 60 to 90 minutes |
| Controls and testing | 30 to 60 minutes |
Materials checklist to have on hand
- Properly sized mini split unit(s) with manufacturer documentation
- Brackets, pad or masonry anchors
- Line set and insulation sized for refrigerant and length
- Appropriate copper fittings, nitrogen purge kit, and brazing supplies
- Vacuum pump, manifold set, electronic leak detector, and scale for charging
- Electrical cable, disconnect, and conduit as required
Cost factors and realistic ranges
Expect pricing to vary with unit capacity, number of indoor heads, and site complexity. Typical single-zone installations for a single head can range from modest to higher depending on wiring distance, need for structural reinforcement, and accessibility of the mounting locations. Multi-zone systems add compressor cost and labor for multiple heads and longer line sets. Request itemized pricing that separates equipment, labor, and materials to compare offers accurately.
Warranty, maintenance, and longevity
Confirm compressor and parts warranty periods and whether the installer provides a labor warranty. Regular maintenance items include cleaning or replacing filters every 1 to 3 months depending on use, checking drain lines each cooling season, and an annual service visit to test refrigerant charge and electrical connections. Proper maintenance helps sustain rated efficiency and extends life expectancy.
Choosing an installer in Yonkers and surrounding NYC areas
Select contractors with documented experience on ductless systems and local references. Verify trade credentials, proof of insurance, and a clear written scope for installations that includes torque specs for electrical connections and final test reports. Ask for a sample commissioning sheet used after installation so you have a record of measured operating values.
Post-install verification you can request
- Supply and return temperature measurements under steady state conditions.
- Compressor amp draw and voltage readings.
- Final vacuum value and charging weight record.
- Photographs of wiring connections, breaker labeling, and outdoor unit mounting.
Aftercare and quick troubleshooting tips
If an indoor head cycles unexpectedly, check filter cleanliness and mode settings first. For unusual noises, inspect mounting, refrigerant lines, and condenser fan blades. If airflow is weak across all heads, verify outdoor unit fan operation and suction line temperature. For persistent issues, capture measurements and consult the commissioning documentation before scheduling a return visit.
Summary table: key pre-install decisions
| Decision | Why it matters |
|---|---|
| Unit capacity | Ensures comfort and prevents short cycling |
| Indoor head placement | Optimizes airflow and reduces noise impact |
| Outdoor unit location | Impacts efficiency, service access, and noise |
| Electrical access | Affects safety, code compliance, and cost |
Following measurable steps, clear pre-job preparation, and documented commissioning reduces surprises and provides a reliable operating baseline for any mini split or HVAC replacement project in Yonkers and adjacent NYC neighborhoods. The technical checks and material list above help owners and contractors complete replacements with predictable results and a focus on efficiency and serviceability.