Skip to content
Immediate actions to prepare for a mini split installation in NYC
Schedule a licensed contractor site visit, photograph the installation locations, measure available breaker capacity, and confirm roof or wall access. During that visit demand a written scope that lists equipment model, estimated capacities, line set length, and whether the quote includes permits and electrical work. The mini split installation process nyc requires clear documentation up front to avoid day-of surprises.
Step 1: Accurate quote and system selection
Ask contractors for a line-item quote. The quote should show equipment price, labor hours, materials such as line sets and condensate pump, permit fees, and expected travel or rooftop access charges. Request assumptions about tonnage and efficiency rather than a generic model name. For multiroom needs evaluate multi-zone mini splits or a full HVAC replacement if ductwork and central components are already present.
What to verify in the quote
- On-site measured square footage and load notes
- Indoor unit locations with elevations and clearances
- Outdoor condenser location and mounting method
- Electrical circuit requirements, breaker size, and disconnect location
- Permit and filing fees, including Department of Buildings involvement where required
Step 2: Permits, building rules, and access
Confirm whether a DOB permit is required for the planned work and if condo or co-op board approval is necessary. In NYC many exterior condenser placements on facades or roofs trigger additional filings and insurance requirements. A licensed mechanical contractor or registered design professional can file applications and provide the needed documents.
Board and landlord approvals
- Obtain written approval for drilling through exterior walls or using common roof space
- Secure elevator reservation or roof access agreements early
- Request any required insurance certificates from the contractor
Step 3: Electrical preparation and upgrades
Have a licensed electrician verify service capacity and install dedicated circuits if needed. Typical single-zone mini splits often require 15 to 30 amp dedicated breakers depending on model; multi-zone systems can need more substantial panels or new feeds. Label new breakers and confirm the contractor will coordinate final connections to indoor and outdoor units.
Common electrical tasks
- Install disconnect switches near outdoor condenser
- Run conduit and copper for line sets as specified by manufacturer
- Upgrade service or add subpanel when multiple condensers compete for available amps
Step 4: Placement planning and routing
Decide indoor unit locations to maximize airflow and avoid obstructions. Pick an outdoor condenser spot with required clearances for airflow and maintenance. Plan the line set route to minimize length and avoid long vertical drops that complicate refrigerant charging. If the condenser goes on the roof, confirm structural loading and vibration isolation details.
Tip on condensate management
Indoor units require a drain path. Gravity drains are simplest but not always possible. Where gravity is not feasible, specify a condensate pump and confirm a discharge point that complies with building regulations.
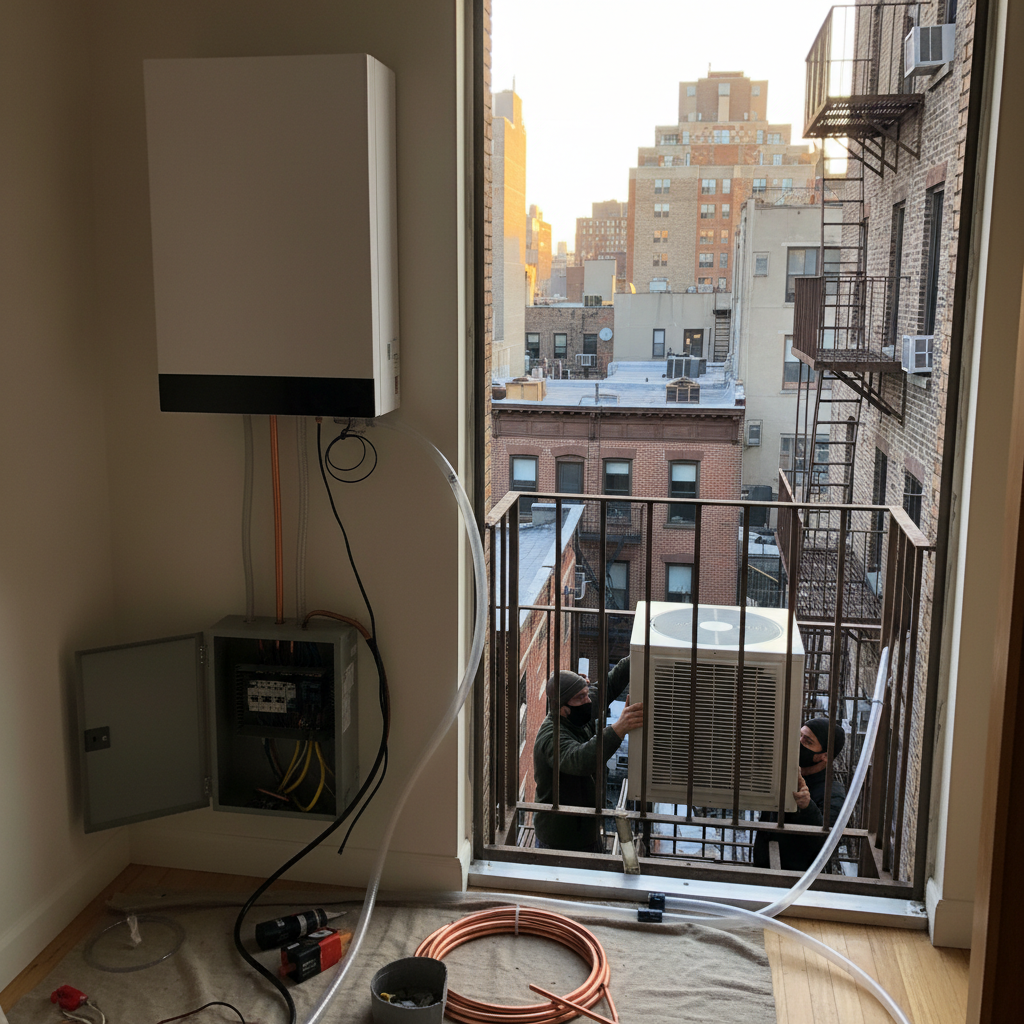
Step 5: Installation day sequence
Typical day-of tasks follow a sequence to prevent rework. Install indoor wall brackets, mount indoor units, hoist and secure the outdoor condenser, route and secure line sets, pull electrical and control wiring, and connect condensate drains. Keep a clean, documented handoff of cut wall openings and patching requirements for final finishes.
Handling through-wall penetrations
- Use a single tidy penetration for line sets, power, and drain when possible
- Seal penetrations with fire-rated materials if required by code
- Arrange external flashing or weatherproofing for exterior wall holes
Step 6: Refrigerant work, pressure testing, and evacuation
Proper refrigerant handling is essential for performance and code compliance. After brazing or connecting the line set, contractors should pressure test the system with dry nitrogen to check for leaks. Then perform a vacuum to remove moisture and non-condensables. A deep vacuum is important for long line sets or systems with field braze joints. Only certified technicians should charge refrigerant and document the final charge method.
Verification steps
- Record pressure test duration and results
- Record achieved vacuum level and hold time
- Note refrigerant type and measured charge amount or superheat/subcooling targets
Step 7: Startup, calibration, and occupant orientation
With electrical power applied and refrigerant in the system the startup sequence begins. Verify outdoor fan and compressor operation, confirm indoor unit blowers run, and test modes for heating and cooling. Measure supply and return temperatures to confirm capacity. Set simple user controls and demonstrate basic operation to the occupant, including remote control functions and routine filter maintenance.
What the contractor should hand over
- Manufacturer startup checklist signed by technician
- Copies of permits and any inspection approvals
- Operation manuals and recommended maintenance schedule
Step 8: Testing performance and follow up
After initial startup, monitor the system for 24 to 48 hours if possible. Note noise, vibration, and temperature performance in different rooms. If balance adjustments or trim refrigerant charging is needed, schedule a follow-up. Good contractors include a short warranty period inspection to ensure the system stabilizes under normal usage.
Typical costs and timelines in NYC
Costs vary with system capacity, number of heads, mounting complexity, and whether electrical upgrades or permits are required. As a rule expect single-zone mini split installations to take one to two days of on-site work plus permit lead time. Multi-zone systems or rooftop condensers often extend to several days. Request a schedule in the written quote and allow extra time for inspections and board approvals as needed.
When to consider HVAC replacement instead of mini splits
Consider HVAC replacement when a building already has a functioning ducted system that meets load needs, or when central equipment serves multiple rooms more efficiently. Mini splits excel for targeted room control, conversions without ducts, and supplemental heating and cooling, while full HVAC replacement may make sense for whole-building renovations.
Maintenance and long term care
Plan for seasonal filter cleaning, outdoor coil clearance, and annual technical checks of refrigerant charge and electrical connections. Keep a service log showing dates of maintenance, firmware updates for smart controllers, and any parts replaced. Proper maintenance preserves efficiency and extends equipment life.
Choosing the right contractor
Pick contractors with local NYC experience, valid licenses, and good insurance. Request references and recent project photos, and confirm the installer files permits and schedules inspections when required. A transparent warranty and clear scope of work reduce risks and help ensure the system performs as designed.
Final checklist before turning power on
- All penetrations sealed and weatherproofed
- Electrical circuit labeled and disconnect installed
- Pressure test and vacuum records documented
- Condenser mounted with vibration isolation
- Indoor units leveled and drains verified
- Manuals and warranty paperwork handed to owner
Following these steps reduces hidden costs and shortens the path from quote to reliable operation. For specific code questions consult a licensed NYC mechanical contractor or the Department of Buildings, and always confirm the contractor will handle required filings and inspections.