Skip to content
Step-by-step preselection checklist and first actions
Measure each room’s square footage and ceiling height, check for standing water or efflorescence, and calculate combined window and door area before you choose a mini split for basement apartment brooklyn. Record dimensions for every conditioned space, note ceiling height above 8 feet, list window sizes and directions, and mark damp or mold-prone areas. Use that data to estimate capacity and to plan insulation upgrades that reduce cycling and improve efficiency.
Why garden level and basement units need a different approach
Basement apartments in Brooklyn face higher soil heat transfer, limited natural ventilation, and often elevated humidity. Heat loss and cold transfer occur through slab edges, rim joists, and poorly insulated foundation walls. Condensation risk is higher when warm indoor air meets cold surfaces. A standard above-grade mini split layout will not address moisture control or thermal bridging without insulation and targeted placement.
Sizing the mini split: practical rules and a simple table
Sizing is the most common error. Oversized equipment will short-cycle and fail at dehumidifying; undersized systems cannot maintain temperature. Start with square footage times a baseline BTU, then adjust for basement conditions.
| Room size (sq ft) | Baseline BTU | Basement adjustment |
|---|---|---|
| Up to 250 | 9,000 | +10 to 20% for poor insulation |
| 250 to 400 | 12,000 | +15 to 25% if damp or low insulation |
| 400 to 600 | 18,000 | +15 to 30% for high ceilings or many windows |
Calculate load per room and add a small buffer rather than oversizing by multiple steps. For multi-room apartments consider multi-zone mini splits so each room can be controlled independently.
Placement and piping: minimizing noise and maximizing airflow
Place indoor heads on interior walls away from moisture sources and sleeping areas when possible. Exterior condenser units need stable ground or a concrete pad and a location with at least 12 inches clearance around the sides and 36 inches above for airflow. Route refrigerant lines through the shortest practical path to limit heat loss in the lines. Insulate line sets and use a sealed penetration sleeve when passing through foundation walls to keep pests and air leakage out.
- Mount indoor units 7 to 8 feet above finished floor for even air distribution.
- Avoid mounting directly over beds or couches to reduce drafts.
- Use vibration isolators on the outdoor unit to cut transmitted noise to neighbors.
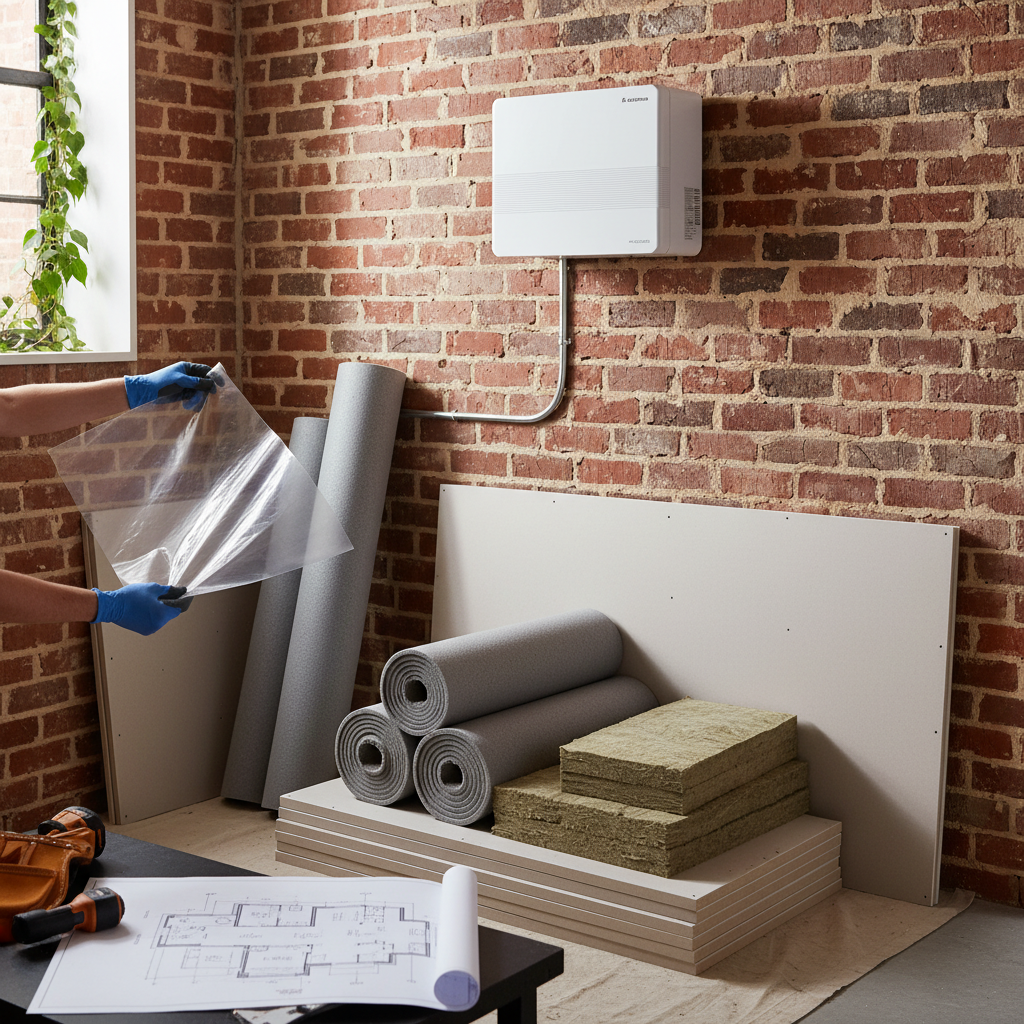
Insulation priorities for Brooklyn garden level and basements
Insulation reduces both load and condensation risk. Target the rim joist, foundation walls, and between joists under the first floor. Rim-joist and sill sealing prevents significant cold air intrusion. Use closed-cell spray polyurethane or rigid foam at the foundation wall and rim joist for the best moisture resistance where code allows. Add 1 to 2 inches of continuous rigid foam on concrete walls where interior finish is possible without compromising egress or utilities.
Moisture control and ventilation strategies
Dehumidification is often the priority. Choose a mini split with a strong low-speed dehumidification mode and consider a separate dehumidifier if humidity routinely exceeds 60 percent. Provide mechanical ventilation with an energy recovery ventilator or heat recovery ventilator when possible to introduce fresh air without large heat loss. Seal bulk water entry points, install a sump pump if needed, and ensure gutters and grading send water away from the foundation.
Permits, regulations, and common Brooklyn requirements
In New York City, most mechanical changes require permits. Submitting an HVAC permit with equipment specifications, proposed refrigerant routes, and electrical connections is standard. Verify that the installer pulls the permit and follows NYC Department of Buildings requirements including licensed electrician connections and approved refrigerant technicians. Building rules may limit outdoor condenser locations for courtyard or garden level units; confirm HOA or landlord rules if applicable.
Installation sequence to reduce callbacks
Follow this installation order to avoid rework: 1 Measure and confirm final equipment sizes. 2 Upgrade insulation and seal penetrations before mounting indoor heads. 3 Install condensate routing and test slope toward a drain or condensate pump. 4 Mount indoor and outdoor units and run line sets. 5 Evacuate and leak-test the refrigerant system, then charge per manufacturer instructions. 6 Commission controls, check dehumidification at low fan speeds, and show tenant how to set setpoints and schedules.
Noise, neighbors, and tenant comfort
Choose inverter-driven compressors for quieter operation and better part-load efficiency. Place the outdoor unit on rubber pads to reduce vibration and avoid placing it adjacent to a neighbor’s window or a shared courtyard seating area. Indoor units that cycle frequently or blow directly on occupants are common complaint sources; program sensible schedules and use auto mode for slower fan speeds to balance comfort and dehumidification.
Cost ranges and long-term savings
Expect equipment and installation to range from basic single-zone installs around mid four figures to multi-zone projects up to low five figures, depending on complexity, insulation work, and electrical upgrades. Better insulation lowers the required capacity and runtime, so the insulation investment often pays back through reduced energy use and longer equipment life. Track runtime and humidity metrics for the first heating and cooling seasons to validate performance.
Maintenance checklist for reliable year-round operation
- Clean or replace filters every 1 to 3 months.
- Inspect condensate traps and lines annually for clogs.
- Check outdoor unit clearance and remove debris seasonally.
- Have a qualified technician test refrigerant charge and electrical connections every 2 to 3 years.
Recommended features and add-ons
- Built-in dehumidification and auto-defrost for winter operation.
- Smart thermostats or Wi-Fi controls for remote scheduling and energy monitoring.
- Condensate pump with overflow switch if gravity drain is not available.
- Line set insulation with a minimum R-value suitable for outdoor exposure.
Quick retrofit checklist before you call an installer
- Record room dimensions and window/door areas.
- Note foundation wall and rim joist materials and current insulation levels.
- Identify potential outdoor condenser locations and measure clearances.
- Find the electrical panel and check available breaker space and service rating.
- Decide on single-zone or multi-zone based on room layout and tenant control needs.
Final considerations for Brooklyn garden level units
A proper mini split installation in a Brooklyn garden or basement apartment combines right-sized equipment with moisture control and insulation upgrades. Treat insulation and sealing as part of the HVAC solution rather than an optional add-on. When equipment, placement, ventilation, and insulation work together, the system will maintain comfortable temperature and humidity, lower energy use, and reduce tenant complaints.
Document measurements, contractor scopes, and permit copies for future buyers or property managers. That documentation shortens future service calls and preserves resale value.